DaVinci Resolve 19.1's Outer Stroke Effect – The Game Changer Explained!
November 21, 2024
Davinci Resolve Tutorial

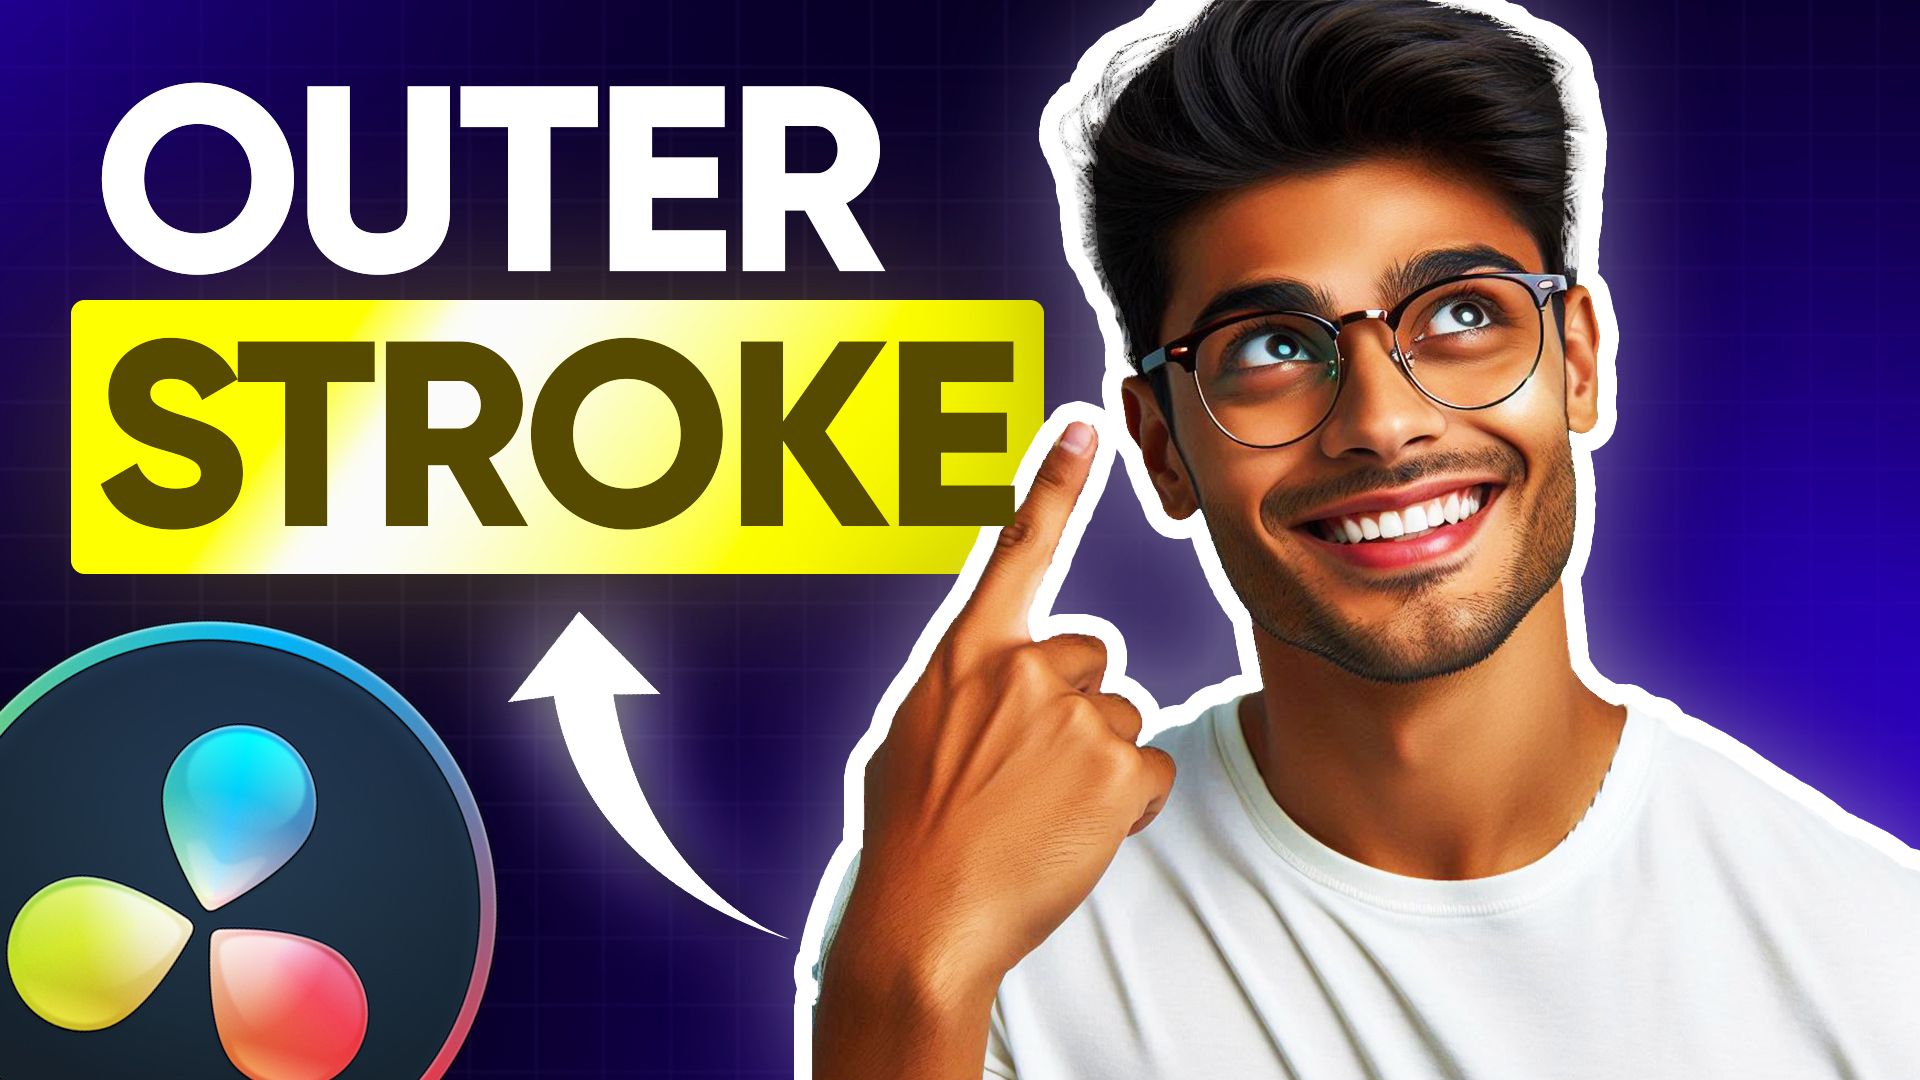
How to Use the Outer Stroke Feature in DaVinci Resolve 19.1
DaVinci Resolve 19.1 introduces the much-awaited Outer Stroke feature, available for both free and paid users. Here's a step-by-step guide on how to use it for images and videos:
Applying Outer Stroke to Images
1. Add the Effect:
- Go to the Effects Panel and drag Outer Stroke onto your image. The stroke and drop shadow will appear immediately.
2. Customize the Stroke:
- Open the Inspector and navigate to the Effects Tab. Here, you can modify:
- Border Width: Adjust thickness.
- Border Edge: Choose between sharp, circular, or gradient edges.
- Color: Set a custom color.
- Shadow Controls: Change opacity, distance, softness, and angle.
---
Using Outer Stroke for Videos
1. Transparent Background Setup:
- For green-screen videos, remove the background using the Fusion Tab. If you don't know how, you can watch THIS video
2. Apply the Effect:
- Drag Outer Stroke onto the video clip. The stroke moves dynamically with the video.
3. Customizing for Videos:
- Modify the same settings as for images, ensuring a cohesive and professional appearance.
---
This feature allows you to add clean, adjustable outlines to your media, enhancing its visual impact. Perfect for both still and motion graphics, the Outer Stroke feature makes customization effortless in DaVinci Resolve 19.1.
* with sam
Made in मुंबई
©WITH SAM 2026 ALL RIGHTS RESERVED

