



How to Add a Text or Image Watermark in DaVinci Resolve (Free Version)
March 05, 2026
Davinci Resolve Tutorial
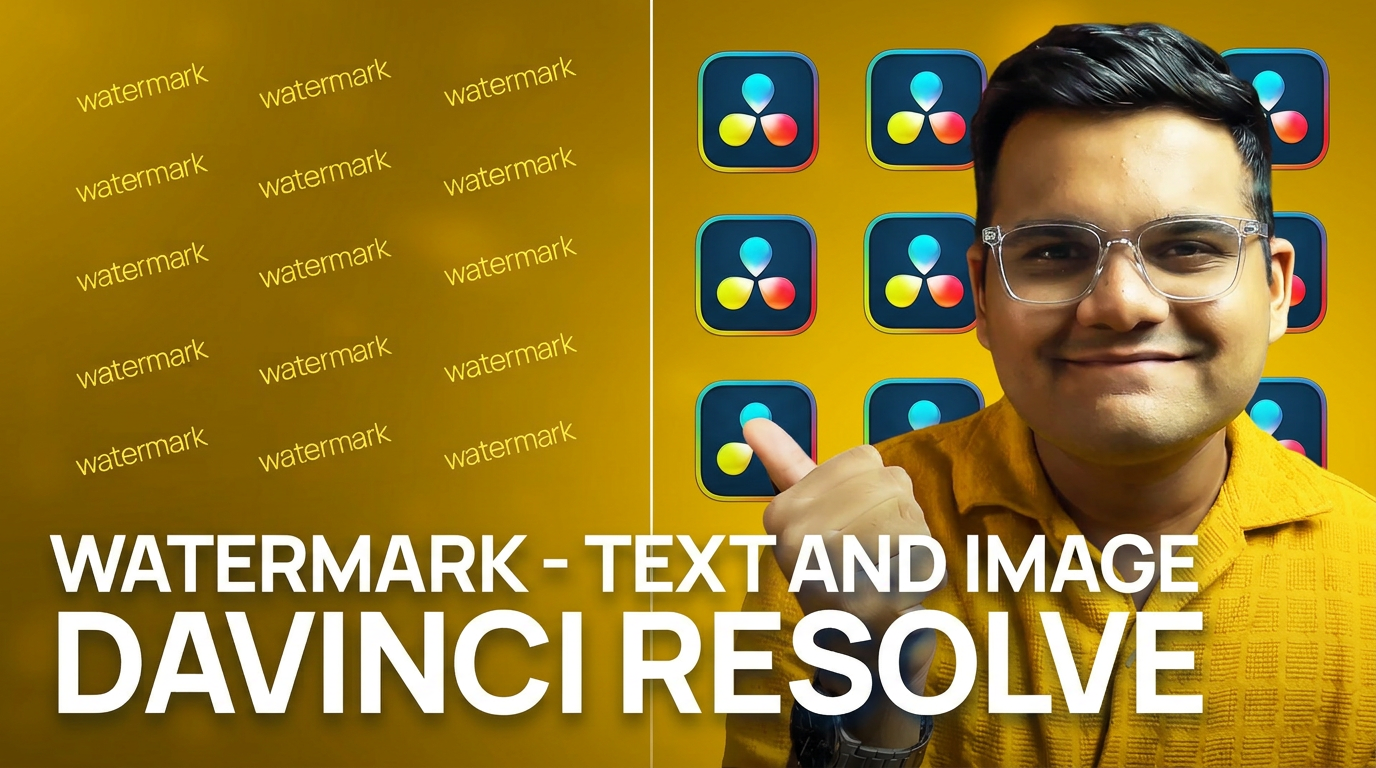
How to Add a Text or Image Watermark in DaVinci Resolve
Adding a text or image watermark to your videos in DaVinci Resolve is simple using the built-in Watermark effect.
This method works in both the Free and Studio versions and gives you full control over text styling, image customization, opacity, size, rotation, and placement.
In this guide, you’ll learn how to apply a watermark to a single clip or across your entire timeline using an adjustment clip.
Apply the Watermark Effect
1. Go to the Edit page in DaVinci Resolve
2. Open the Effects panel from the top-left corner
3. Switch to the Effects tab
4. Scroll down and find the effect called Watermark
5. Drag and drop the Watermark effect onto your video clip
If you have multiple layers in your project, it is better to use an adjustment clip.
Use an Adjustment Clip (Recommended Method)
1. In the Effects panel, drag an Adjustment Clip onto your timeline
2. Stretch the adjustment clip so it covers your entire video
3. Drag the Watermark effect onto the adjustment clip
This method ensures the watermark applies to everything below it on the timeline. It is cleaner and easier to manage, especially in larger projects.
Customize Text Watermark
Once the Watermark effect is applied:
1. Select the clip or adjustment clip
2. Open the Inspector panel
You can now customize the text watermark:
• Change the watermark text
• Change the font
• Adjust the font weight
• Change the text color
• Adjust the blend (opacity)
• Modify the size
• Adjust tracking
• Change line spacing
• Rotate the text
• Adjust width and width spacing
• Adjust height and height spacing
If the watermark looks too transparent, increase the Blend value to make it fully visible. You can fine-tune it based on your preference.
Add an Image Watermark
If you want to use an image watermark instead of text:
1. Go to the Media Pool
2. Click Import Media
3. Import the image you want to use as your watermark
4. Select the clip or adjustment clip with the Watermark effect applied
5. Open the Inspector
6. Enable Use Logo
7. Drag your imported image into the clip name field
Your image will now appear as the watermark.
Customize the Image Watermark
You can further adjust the image watermark using:
• Saturation
• Size
• Angle
• Width and width spacing
• Height and height spacing
• Blend (opacity)
If saturation is set to zero, increase it to restore the original color of your image.
Render the Final Video
1. Go to the Deliver page
2. Choose your export settings
3. Render your video
Your text or image watermark will now be permanently applied to the exported video.
Final Thoughts
Using the built-in Watermark effect in DaVinci Resolve, you can quickly add professional text or image watermarks to your videos. Whether you apply it directly to a clip or use an adjustment clip for full timeline coverage, this method gives you complete control over customization.
This workflow is perfect for branding your content, protecting your videos, or adding subtle overlays to professional projects.
If this tutorial helped you, consider sharing it with your friends, and consider 🔗Subscribing to my YouTube Channel for more! I regularly post tutorials on DaVinci Resolve, creative workflow tips, and even tech reviews.
Also check out my 🔗Gumroad shop for affordable motion graphic packs, and my 🔗blog for weekly tips and behind-the-scenes content.
Thanks for reading, and I’ll see you in the next one!

* with sam
Made in मुंबई
©WITH SAM 2026 ALL RIGHTS RESERVED