

The Best Way to Use PSD Files in DaVinci Resolve 20 – Full Guide
May 22, 2025
Davinci Resolve Tutorial
With the latest update in DaVinci Resolve 20, importing and animating Photoshop (.PSD) files has become incredibly seamless.
You can now split PSD files into layers inside DaVinci Resolve itself and animate each layer individually—just like you would in After Effects or other motion design tools.
In this article, I’ll walk you through the correct way to import PSD files, animate them layer by layer, and avoid common pitfalls like missing effects or improper clipping.
✅ Step-by-Step: How to Import a PSD File in DaVinci Resolve
1. Open DaVinci Resolve 20 and enable the Media Pool.
2. Right-click in the Media Pool and choose Import Media.
3. Select your Photoshop (.PSD) file and import it.
4. Drag the imported file to your timeline.
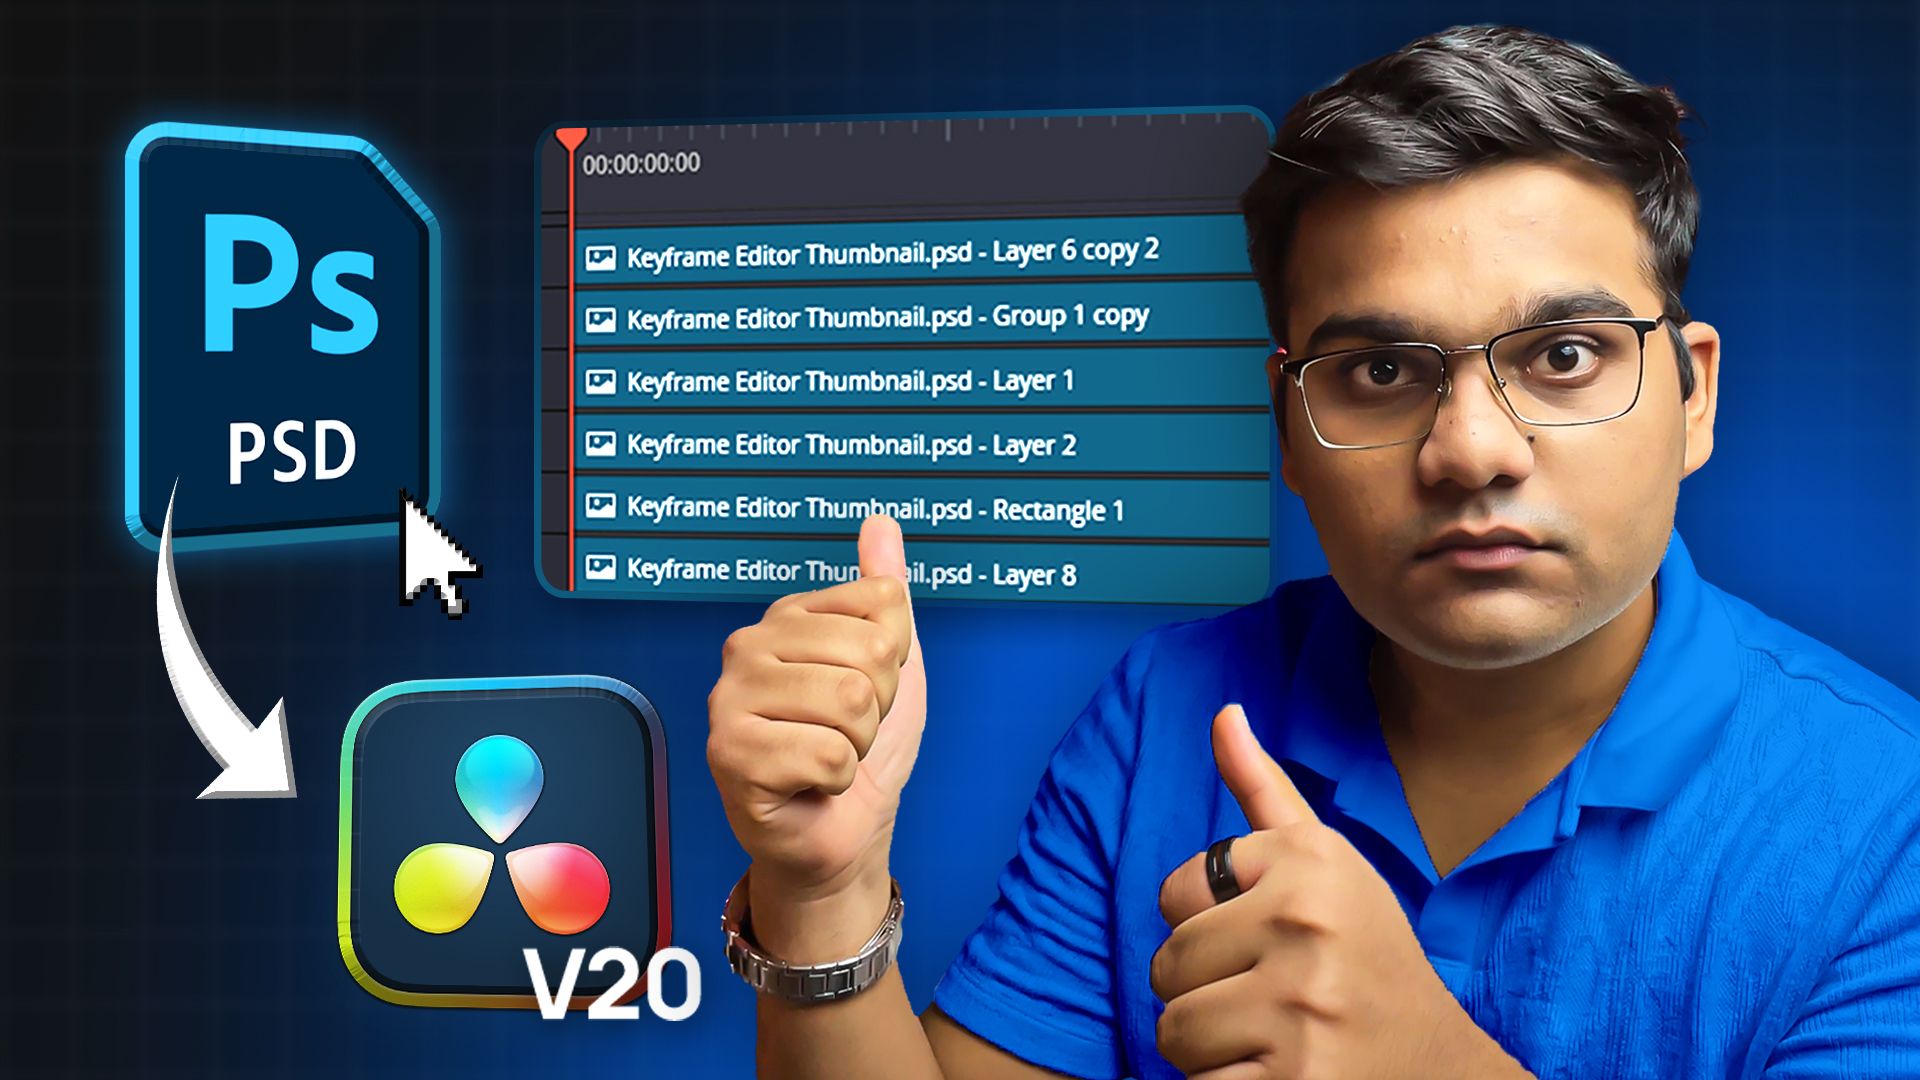
5. Right-click the file in the timeline and choose "Split PSD Layers in Place".
Boom! All your layers will now appear stacked properly on the timeline—one per track.
For example, if your PSD has 10 layers, you’ll now see 10 video tracks (V1 to V10), each representing a layer.
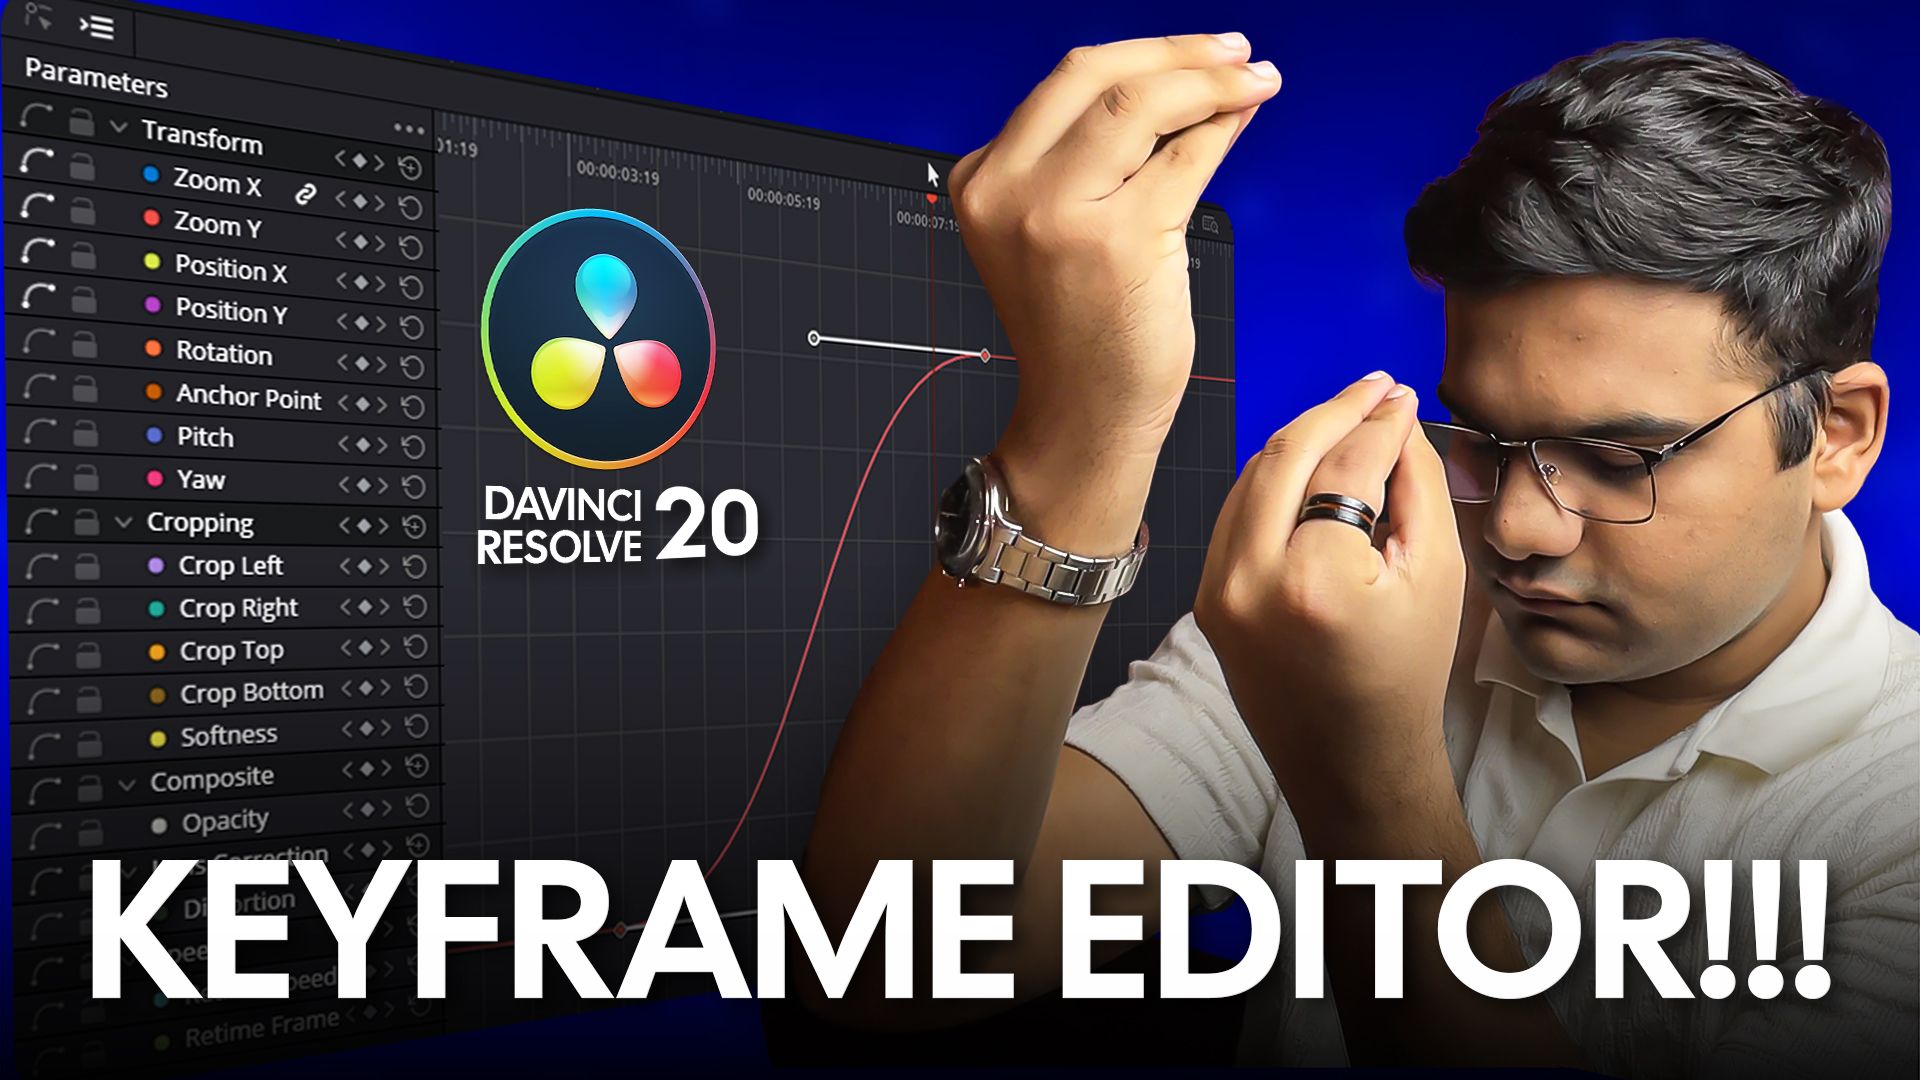
🎞️ Animating Layers One by One
To animate each layer:
• Select a layer (e.g., a person, text, logo, etc.).
• Add a transition effect (e.g., Push, Fade, etc.).
• Adjust its direction, motion blur, and timing.
You can quickly copy the transition to other layers by holding Alt and dragging the effect.
⚠️ Important: Photoshop Effects Don’t Always Translate
Here’s a key thing to remember: Photoshop effects like Bevel, Emboss, Clipping Masks, and Blend Modes won’t carry over when importing into DaVinci Resolve.
Examples of What Gets Lost:
• Bevel and Emboss on logos
• Clipping masks used for image cropping or color overlays
• Layer styles and adjustment layers
So even if the PSD looks perfect in Photoshop, it might break in Resolve unless you prepare it properly.
🛠 Fixing the Issue: Rasterize in Photoshop Before Import
To fix this, rasterize the complex layers in Photoshop before importing:
1. Make a copy of your original PSD.
2. Select all linked/clipped layers for a section (e.g., shirt + color overlay).
3. Convert to Smart Object, then right-click → Rasterize.
4. Rename the layer clearly (e.g., “Blue Shirt,” “Logo,” “Timeline BG”).
This creates a flat image layer with all the effects baked in—fully compatible with DaVinci Resolve.
🧠 Bonus Tip: Name Your Layers Clearly
If your PSD has 10–20+ layers, clear layer names like “Logo,” “Arrow,” “Timeline BG” make it much easier to manage and animate once inside DaVinci Resolve.
🎁 What You Can Do With This Workflow
• Animate thumbnails with layered transitions
• Build engaging YouTube intros/outros
• Create lower thirds and pop-ups using Photoshop designs
• Customize motion graphics without external plugins
👋 Final Thoughts
This new PSD layer import feature in DaVinci Resolve 20 is a game-changer for video editors and motion designers. Just remember to prep your PSD file correctly, rasterize layers when needed, and name them well.
If this tutorial helped you, consider sharing it with your friends, and consider Subscribing to my YouTube Channel for more! I regularly post tutorials on DaVinci Resolve, creative workflow tips, and even tech reviews.
Also check out my Gumroad shop for affordable motion graphic packs, and my blog for weekly tips and behind-the-scenes content.
Thanks for reading, and I’ll see you in the next one!
* with sam
Made in मुंबई
©WITH SAM 2026 ALL RIGHTS RESERVED