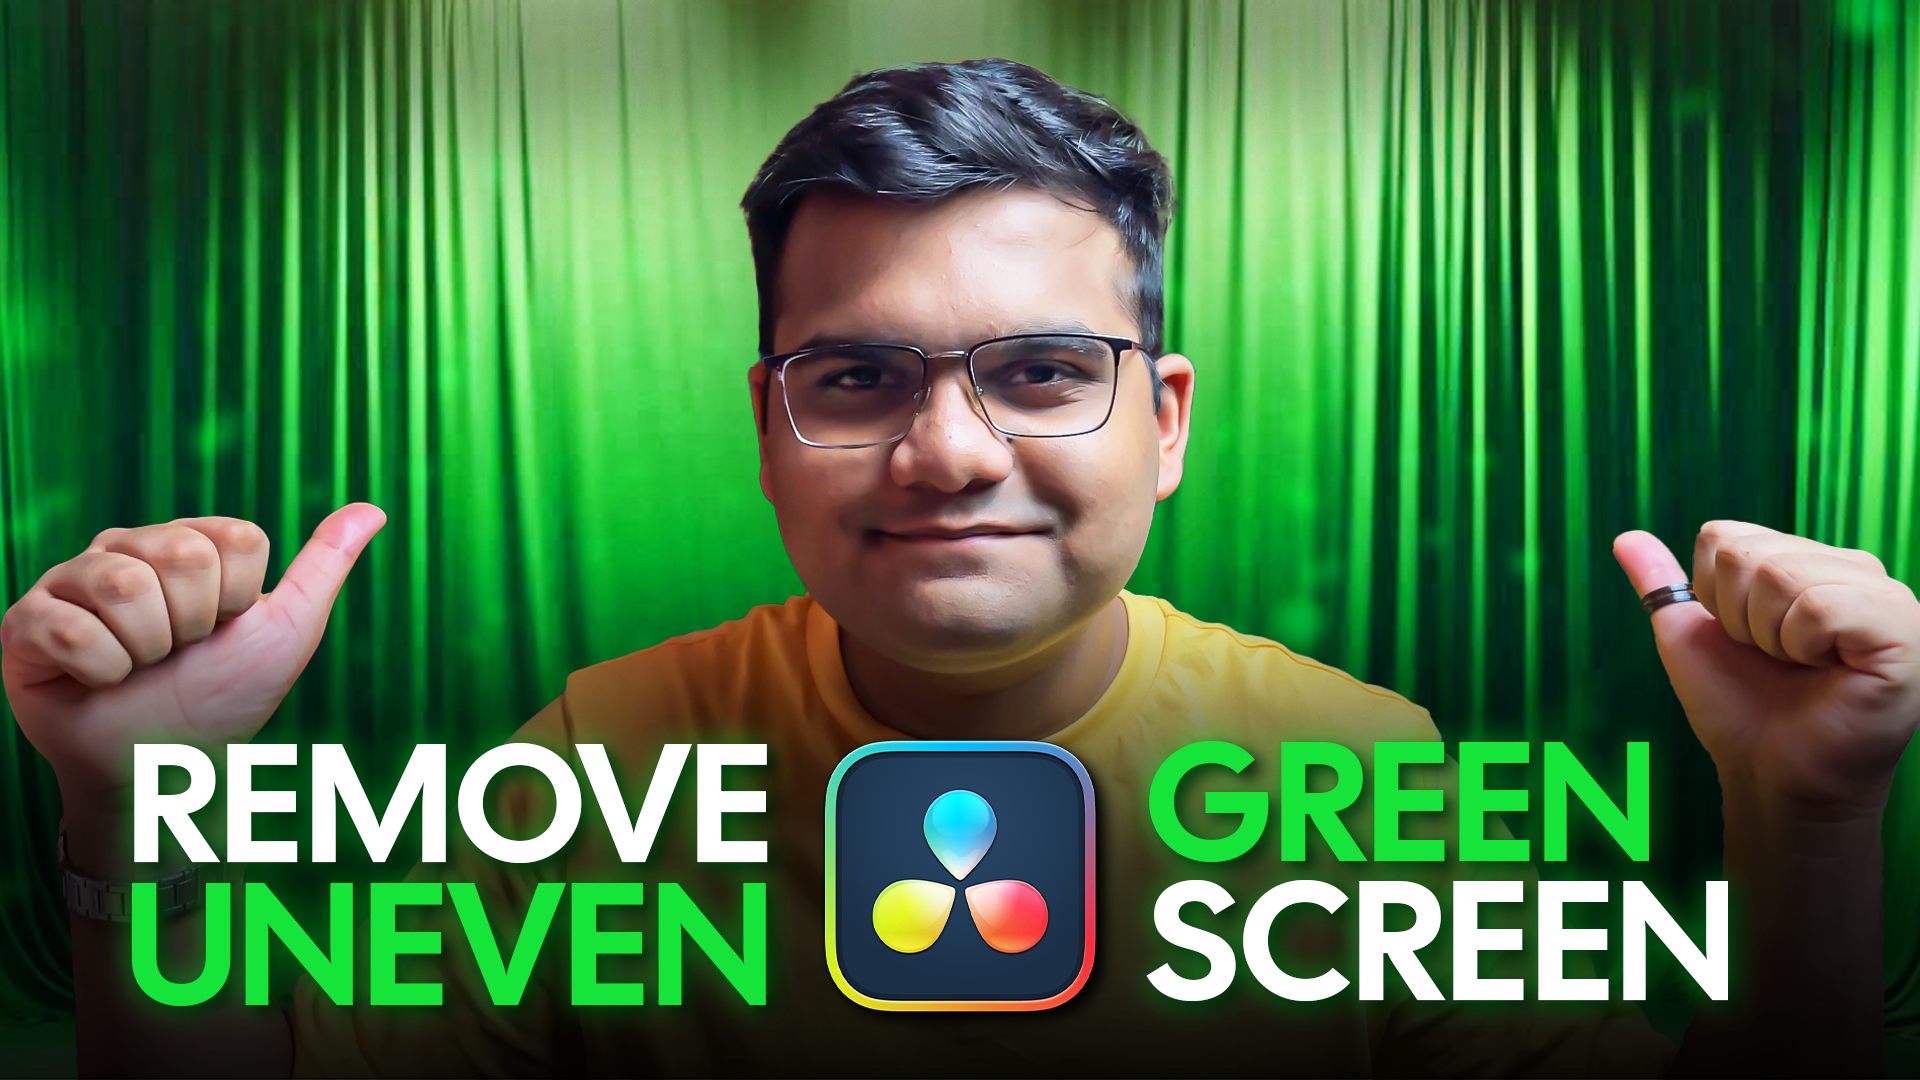
The ABSOLUTE BEST Way to Remove Uneven Green Screens in DaVinci Resolve
March 28, 2025
Davinci Resolve Tutorial

Are you struggling with a wrinkled or poorly lit green screen in your video footage? You're not alone. Uneven green screens—especially those shot at home—can create frustrating challenges in post-production. But with the right tools and techniques in DaVinci Resolve, you can clean up that background like a pro.
In this step-by-step tutorial, you'll learn how to remove uneven green screen footage in DaVinci Resolve using the Delta Keyer, matte adjustments, and edge refinement techniques.
Whether you're a beginner or an intermediate video editor, this guide will help you get clean, professional-looking results.
🎥 What Is an Uneven Green Screen?
An uneven green screen typically has:
1. Wrinkles or folds
2. Uneven lighting (bright in some areas, dark in others)
3. Shadows and hot spots
4. Color variations across the background
These imperfections make it difficult to key out the background using traditional methods. That’s where DaVinci Resolve comes in with its powerful compositing tools.
✅ Step 1: Import and Crop Your Footage
First, bring your green screen clip into the timeline in DaVinci Resolve.
To clean up the frame:
Select the clip.
1. Open the Inspector Panel.
2. Use Crop Left and Crop Right to remove any unwanted areas on the sides.
3. You should be left with just the green screen and your subject.
✅ Step 2: Enter the Fusion Tab and Add Delta Keyer
1. Select your green screen clip.
2. Go to the Fusion Tab.
3. Click on the MediaIn node.
4. Press Shift + Space, type “Delta”, and hit Enter to add a Delta Keyer node.
Delta Keyer is one of the most accurate tools for advanced keying tasks in DaVinci Resolve.
✅ Step 3: Key Out the Green Using the Darkest Shade
With the Delta Keyer selected:
1. In the Inspector, locate the Background Color section.
2. Use the eyedropper tool and select the darkest green area in your background.
👉 This helps remove most of the green screen—about 90%—even in unevenly lit footage.
✅ Step 4: Fine-Tune the Matte for Cleaner Results
1. Change the View Mode from Final Result to Matte.
2. Go to the Matte Tab (third icon).
3. Adjust the Threshold sliders:
-> Move the left slider to the right to remove leftover green areas.
-> Move the right slider to the left to recover any missing parts of your
subject.
✅ Goal: Ensure the subject appears white and the background black in the matte preview.
Once done, switch back to Final Result and return to the Edit Page.
✅ Step 5: Remove Green Edge Using Erode/Dilate and Blur
Even after a clean key, you might notice a greenish outline around your subject—especially against bright backgrounds.
To fix this:
1. Add a solid white background under your green screen clip in the timeline.
2. Go back to the Fusion Tab.
3. In the Delta Keyer, adjust the Erode/Dilate setting by dragging the slider to the left. This tightens the edges and removes the green outline.
4. Apply a subtle blur to soften the sharp edges—just a tiny adjustment will do.
Now, return to the Edit Page and review your footage on both white and black backgrounds. You should see a clean, professional cutout.
🙌 Final Thoughts
Removing an uneven green screen in DaVinci Resolve is 100% possible—even if your setup isn’t perfect. By using the Delta Keyer, adjusting the matte thresholds, and cleaning up the edges, you can produce clean, polished footage without needing a professional studio.
🔔 Like Tutorials Like This?
If you found this guide helpful, consider:
-> Liking and sharing this tutorial with fellow editors
-> Subscribing to my YouTube channel for more DaVinci Resolve tutorials
-> Visiting my website for weekly blog posts
-> Checking out my Gumroad shop for affordable motion graphics and editing assets
Thanks for reading, and happy editing! 🎬
* with sam
Made in मुंबई
©WITH SAM 2026 ALL RIGHTS RESERVED


