How to Create & Animate Straight and Dashed Lines in DaVinci Resolve
February 21, 2026
Davinci Resolve Tutorial

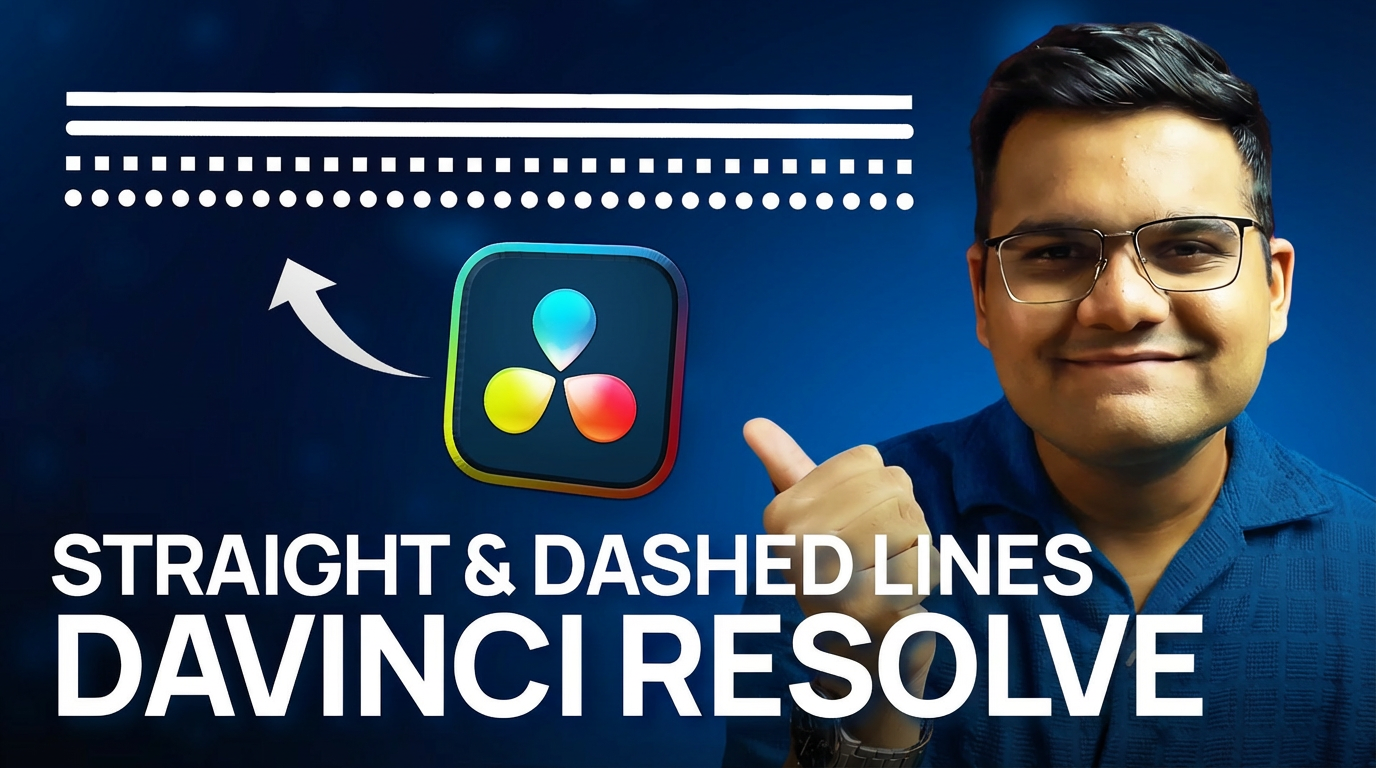
How to Create and Animate Straight & Dotted Lines in DaVinci Resolve
Creating clean, straight lines, dotted lines, and smooth line animations is extremely useful for motion graphics, callouts, UI-style visuals, and explainer videos.
In this guide, you’ll learn how to do all of that inside DaVinci Resolve using Fusion, without relying on any third-party plugins.
This tutorial is designed so you can follow along in a written format and fully understand the workflow step by step.
Add a Fusion Composition
1. Go to the Edit page in DaVinci Resolve
2. Open the Effects panel from the top-left corner
3. Switch to the Effects tab
4. Drag a Fusion Composition onto your timeline
5. Select the Fusion Composition and move to the Fusion tab
You will now see the default MediaOut node in the node graph.
Add the Required Nodes
To create the line, you need two nodes:
• Background node
• Paint node
Follow these steps:
1. Drag a Background node into the node graph
2. Drag a Paint node into the node graph
3. Connect them in this exact order:
Background → Paint → MediaOut
Once connected, your viewer will show a black screen. This is expected behavior.
Set the Background Color or Transparency
1. Select the Background node
2. Go to the Inspector
You now have three options:
• Keep the background black
• Make it transparent by reducing the Alpha value to 0
• Change the background color to anything you want
For this tutorial, a white background works well and keeps the line clearly visible.
Draw a Perfect Straight Line
1. Select the Paint node
2. Click on the Polyline Stroke tool from the top left options
3. Click once in the viewer to create the first point
4. Hold the Shift key and click again to create a perfectly straight line
At this stage, the line may not be visible because the Paint node’s default color is white.
To fix this:
1. Go to the Inspector
2. Change the stroke color to black or any color you prefer
You should now see the straight line clearly in the viewer.
Sharpen the Line Edges
If the line looks soft or blurry, it’s because the brush shape is set to a soft brush by default.
1. With the Paint node selected, go to Brush Controls
2. Change the brush shape to a hard circular brush
Optional alternatives:
• Square brush for square-edged strokes
• Soft brush with adjusted parameters for stylized lines
For clean and sharp lines, the hard circular brush works best.
Create a Dotted or Dashed Line
1. Go to Stroke Controls in the Paint node
2. Increase the Spacing value
As you increase the spacing, the continuous line automatically becomes dotted.
You can further customize the look by adjusting:
• Dot spacing
• Dot size
• Brush shape (circular or square)
This gives you full control over how your dotted or dashed line looks.
Animate the Line Using Write On
1. Go to the Write On section in the Paint node
2. Move the playhead to the start of the timeline
3. Click the diamond icon next to Write On to create the first keyframe
4. Move forward in time
5. Create a second keyframe
6. Go back to the first keyframe and set Write On to 0
The line will now animate from zero to full length over time.
Smooth the Animation with the Spline Editor
1. Open the Spline panel in Fusion
2. Expand the Paint node
3. Select the Write On End parameter
4. Press Ctrl + A to select the curve
5. Press S to apply a smooth S-curve
For an even smoother result:
• Stretch the right curve handle all the way to the left to soften the ease-in and ease-out
This creates a much more natural and professional-looking animation.
Final Thoughts
Using this workflow, you can:
• Create perfectly straight lines
• Turn them into dotted or dashed lines
• Animate them smoothly using Fusion
• Customize stroke style, spacing, and motion
This technique is extremely useful for motion graphics, explainer videos, UI elements, and clean visual callouts inside DaVinci Resolve.
Once you understand this setup, you can reuse it in multiple projects and adapt it to your own creative needs.
If this tutorial helped you, consider sharing it with your friends, and consider 🔗Subscribing to my YouTube Channel for more! I regularly post tutorials on DaVinci Resolve, creative workflow tips, and even tech reviews.
Also check out my 🔗Gumroad shop for affordable motion graphic packs, and my 🔗blog for weekly tips and behind-the-scenes content.
Thanks for reading, and I’ll see you in the next one!
* with sam
Made in मुंबई
©WITH SAM 2026 ALL RIGHTS RESERVED


