

Importing SVG Graphics into DaVinci Resolve Like a Pro
May 29, 2025
Davinci Resolve Tutorial
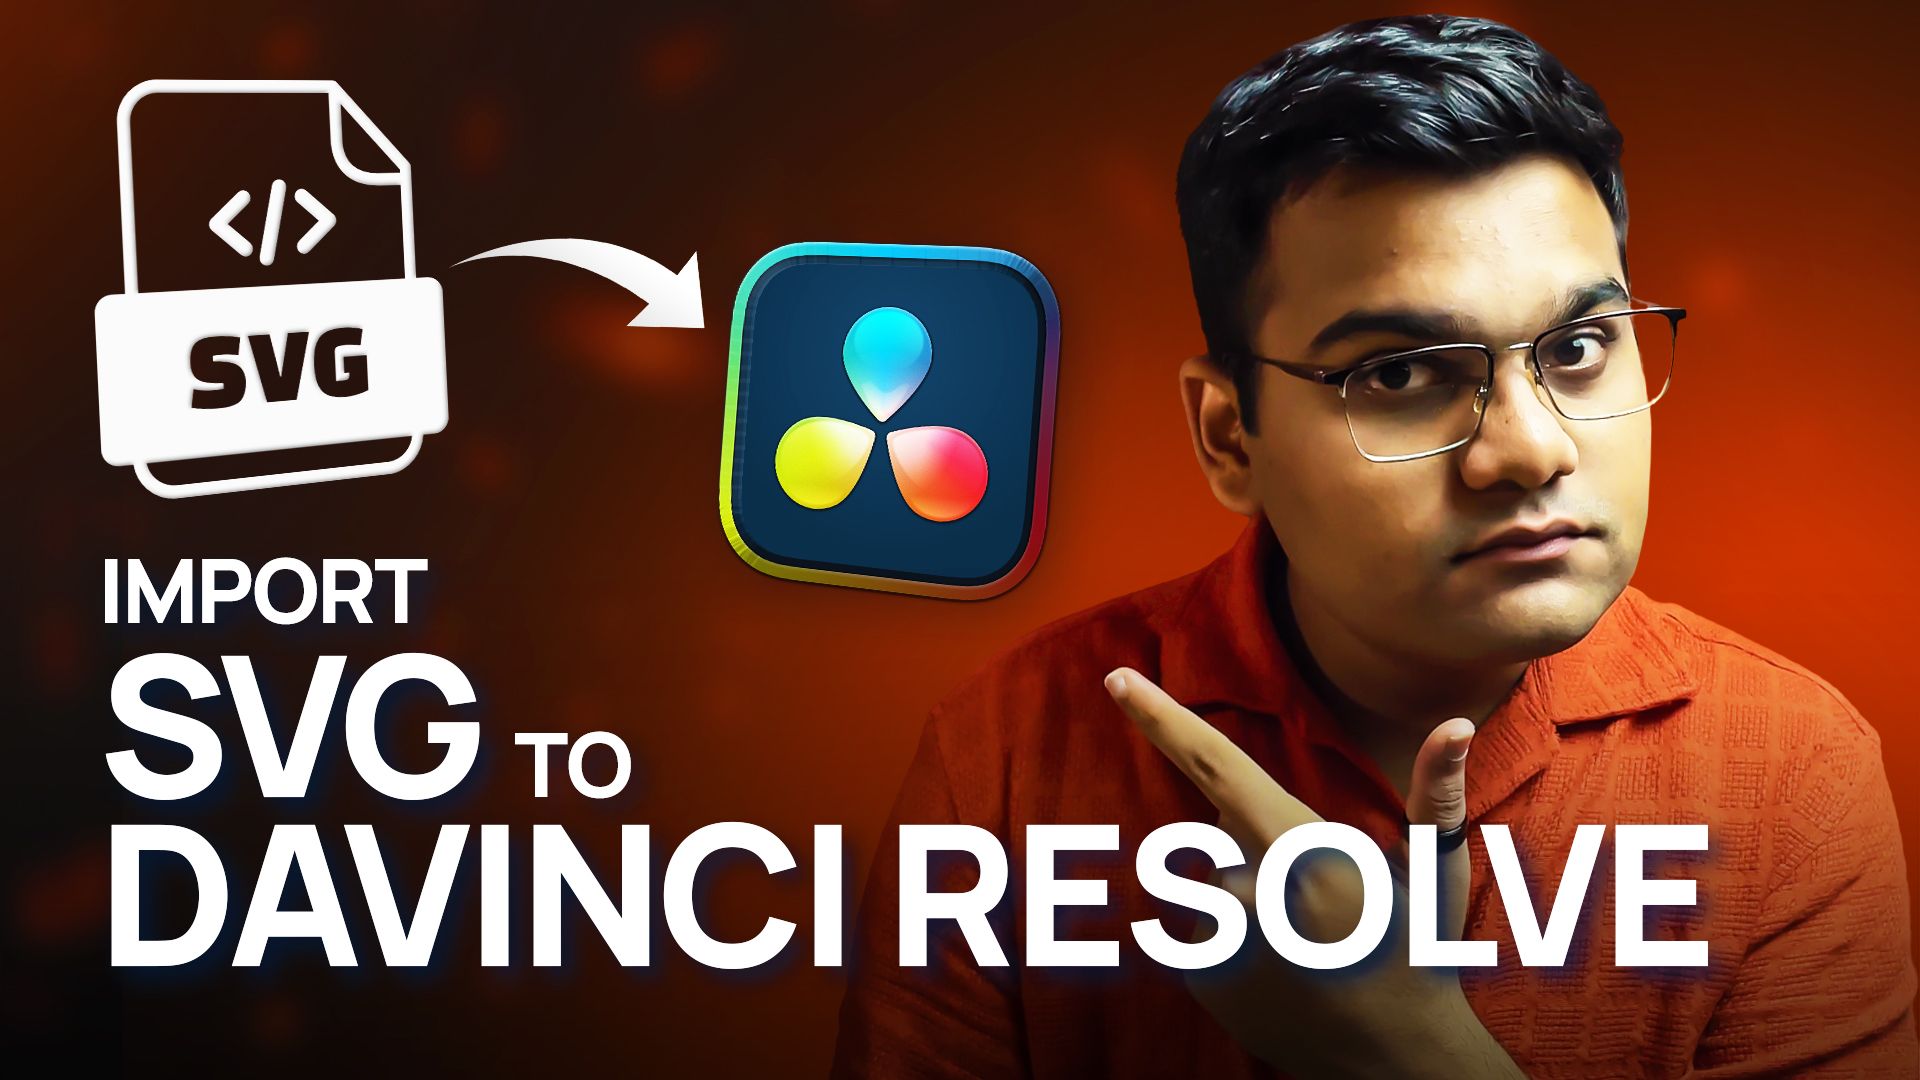
If you've ever wondered how to import SVG icon files into DaVinci Resolve and customize them, you're in the right place.
This guide walks you through two different methods of importing SVG files, explains what happens under the hood in Fusion, and shows how to apply effects like glow and color changes. Plus, you’ll learn a few important tips that can help you avoid common problems.
Step 1: Importing an SVG File
If Your Timeline is Empty:
1. Open DaVinci Resolve and go to the Fusion tab.
2. Click Fusion in the top menu → Import → SVG.
3. Select your SVG file and define the width and height.
4. Click OK and your SVG icon will be added to a new Fusion Composition with a Media Out node.
Note: Even with an empty timeline, DaVinci Resolve will create a Fusion Composition layer automatically.
If Your Timeline Has Clips or Media:
1. Go to the Effects tab → Drag and drop a Fusion Composition onto the timeline.
2. Open this composition in the Fusion tab.
3. Follow the same process: Fusion → Import → SVG → Choose your file and hit OK.
4. Connect the newly imported SVG node to the existing Media Out node.
Understanding the SVG Structure in Fusion
Once imported, double-click the SVG group in Fusion and switch to node view. Here’s what you’ll see:
• Path Nodes: Represent different parts of your SVG (lines, boxes, shapes, icons).
• Background Nodes: Handle the colors of those paths.
• Merge Nodes: Combine all the individual elements into a single shape for output.
Want to customize it? Just:
• Select a Background node and change the color.
• Use Ungroup (right-click on the SVG group and choose Ungroup) to separate components and modify them individually.
Adding Effects Like Glow
To add effects such as glow:
1. Select the last Merge node in the SVG chain.
2. Press Shift + Space, type Glow, and hit Enter.
3. Adjust the glow settings to your liking.
But here’s an important note…
Fixing the Glow Overflow Issue
If you place a bright background under your SVG in the Edit page, you might see unwanted lines or artifacts. This happens because the SVG icon canvas is tightly bound around the icon, preventing glow or shadows from expanding.
The Fix:
1. In the Fusion tab, after the final Merge node, add a Transform node.
2. Reduce the size slightly using the Transform settings.
3. This gives extra space around your icon, allowing effects like glow or drop shadow to render cleanly.
A Handy Tip About SVG Files in Resolve
Once you've imported an SVG into DaVinci Resolve, you no longer need the original SVG file stored on your computer.
Since the file is converted into vector shapes within the project, you can move your project to another system or share it without carrying the original SVG file.
Even if the original file gets deleted, your project will still work perfectly.
Final Thoughts
And that’s it! You now know how to:
• Import SVG files into DaVinci Resolve using Fusion.
• Customize the paths and colors.
• Add visual effects like glow.
• Avoid common rendering issues.
• And manage SVG files efficiently inside Resolve.
If this tutorial helped you, consider sharing it with your friends, and consider Subscribing to my YouTube Channel for more! I regularly post tutorials on DaVinci Resolve, creative workflow tips, and even tech reviews.
Also check out my Gumroad shop for affordable motion graphic packs, and my blog for weekly tips and behind-the-scenes content.
🚀 By the way…
If you’re a podcaster looking for a reliable freelance video editor to handle your podcast edits with precision, great pacing, and modern motion graphics,
I offer freelance podcast video editing services on Contra.
You can check out my work and hire me directly through my Contra profile 🔗[HERE]
Thanks for reading, and I’ll see you in the next one!
* with sam
Made in मुंबई
©WITH SAM 2026 ALL RIGHTS RESERVED