How to Increase and Decrease Brightness in Davinci Resolve
July 18, 2024
Davinci Resolve Tutorial
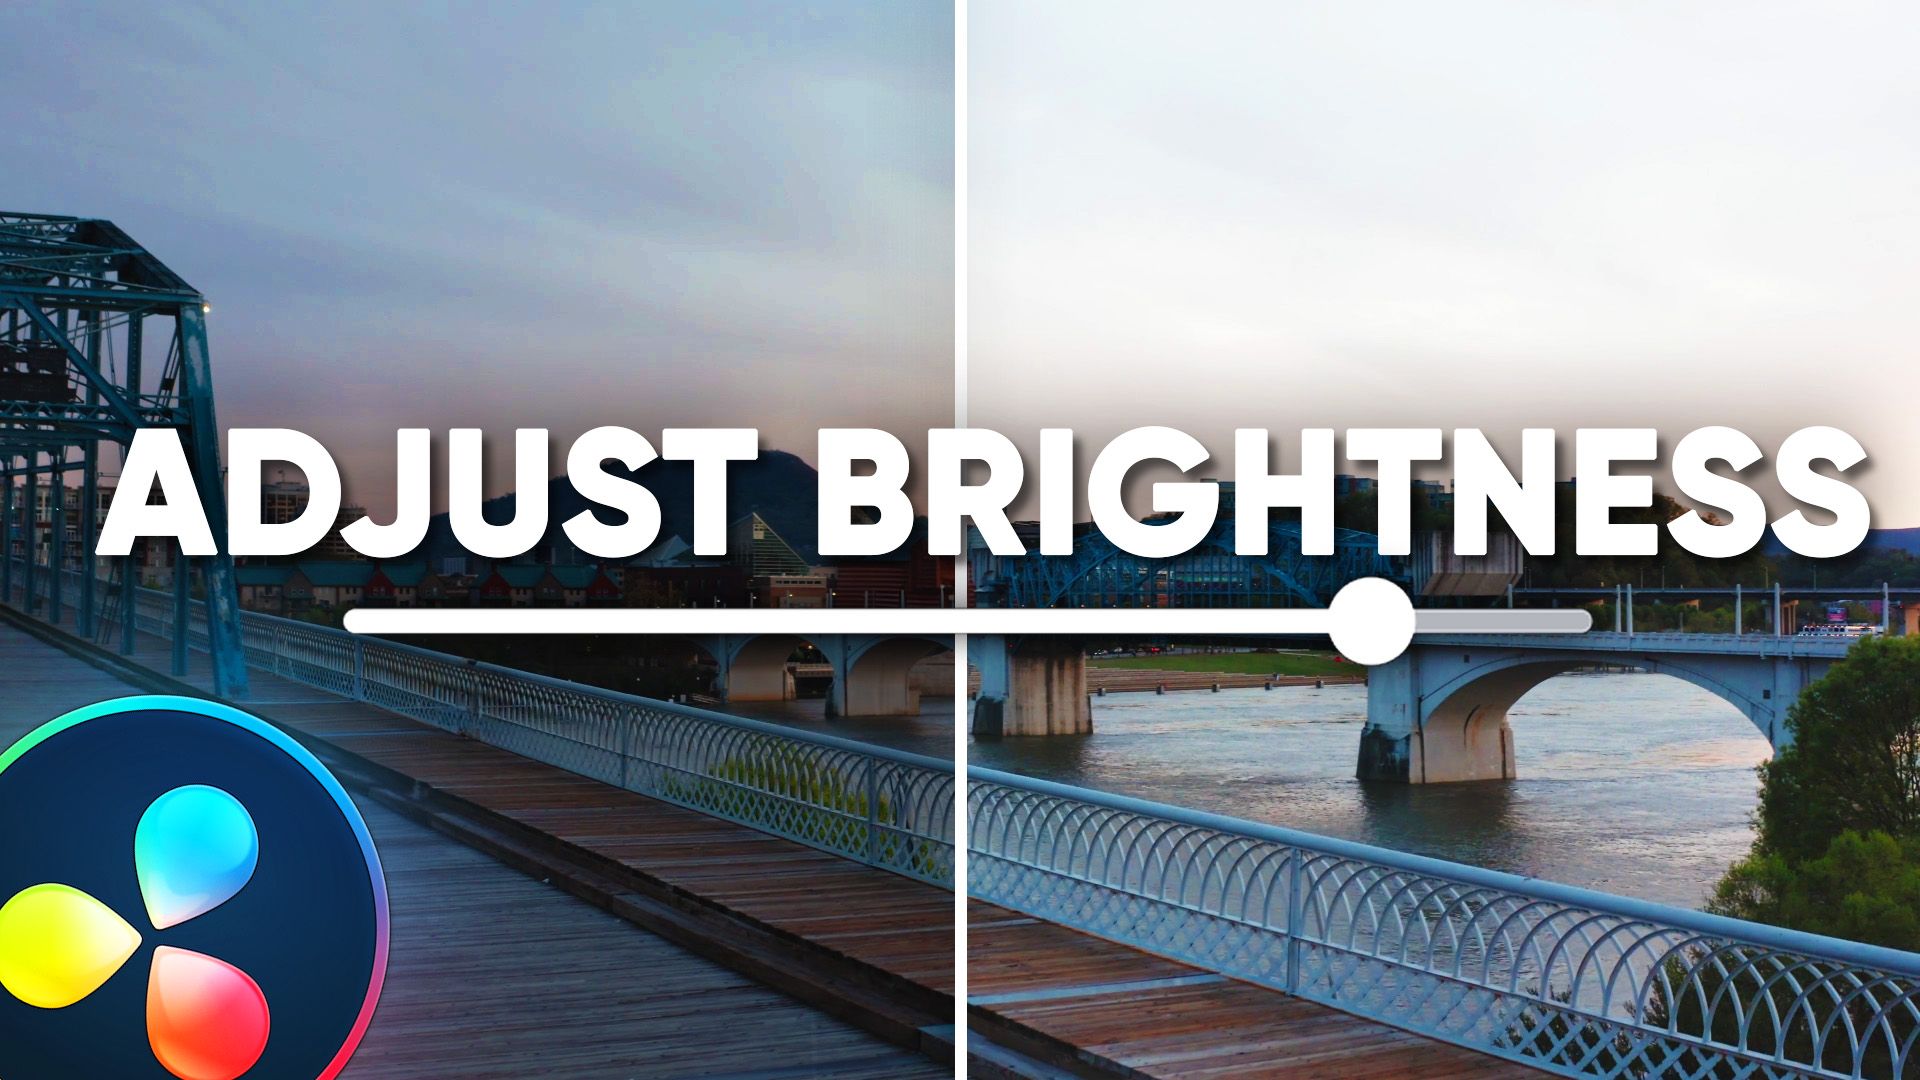
Adjusting Brightness in DaVinci Resolve is not as simple as moving a slider from left to right, but it is actually better, as it offers a more nuanced approach to brightness control through shadows and highlights.
This method provides greater flexibility and precision when making adjustments.
Let’s see how to control those :
Step 1 : Select your Footage and go to the Color Page

Step 2 : Go to the Color Wheels Section at the bottom left of your screen
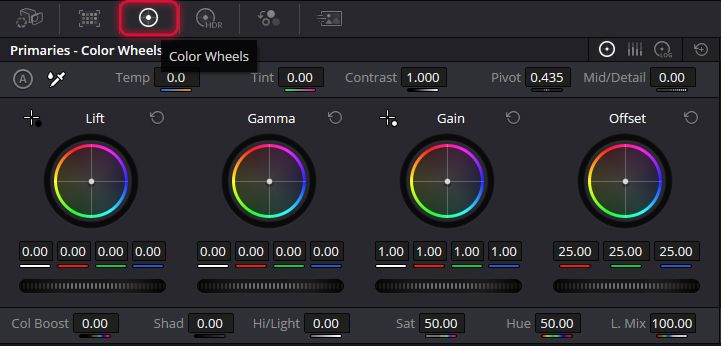
Step 3 : Increase or Decrease the values for both shadows and highlights to Increase or Decrease the Brightness respectively
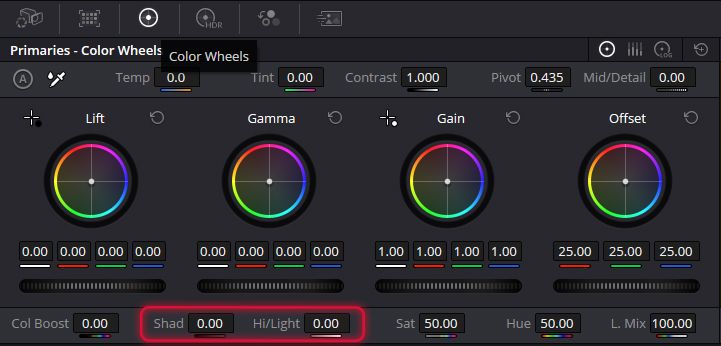
That was the Process.
But if you are a beginner, it’s essential to understand the terms shadows and highlights.
What Are Shadows?
Shadows refer to the darker areas of your footage. When you adjust the shadows, you manipulate the visibility of these dark parts. Increasing the shadow value will brighten these areas, revealing more detail that may have been hidden.
What Are Highlights?
On the other hand, highlights represent the brightest parts of your footage. These are the areas that draw the viewer's attention. Adjusting the highlights can enhance the brightness of these sections, making them pop even more.
Understanding how to balance both shadows and highlights is key to achieving the perfect brightness.
And that's how you do it!
As you practice, you’ll find that mastering brightness adjustments will significantly enhance the quality of your videos. Don’t hesitate to explore and experiment with different settings to discover what works best for your projects.
Remember, the key to great video editing is not just in the tools you use but in how you apply them to tell your story.
Finally, Thank you so much for reading this blog! I hope it was useful.
Make sure you Share this with your editor friends, and consider Subscribing to my YouTube Channel for more!
* with sam
Made in मुंबई
©WITH SAM 2026 ALL RIGHTS RESERVED


